Mold, mildew, fungi – ugh! Nobody wants to encounter these nasties indoors or outdoors, as they can pose risks to your health and happiness. But fear not! With the right tools, techniques, and cleaning solutions, you can swiftly tackle, prevent, and eliminate this menace in just a few minutes. No need to fret – we’ve got you covered!
What exactly is mildew?
When many people hear “mildew,” they often associate it with “mold.” While these terms are frequently used interchangeably, it’s important to note that they are distinct entities, each capable of posing unique risks to both you and your home.
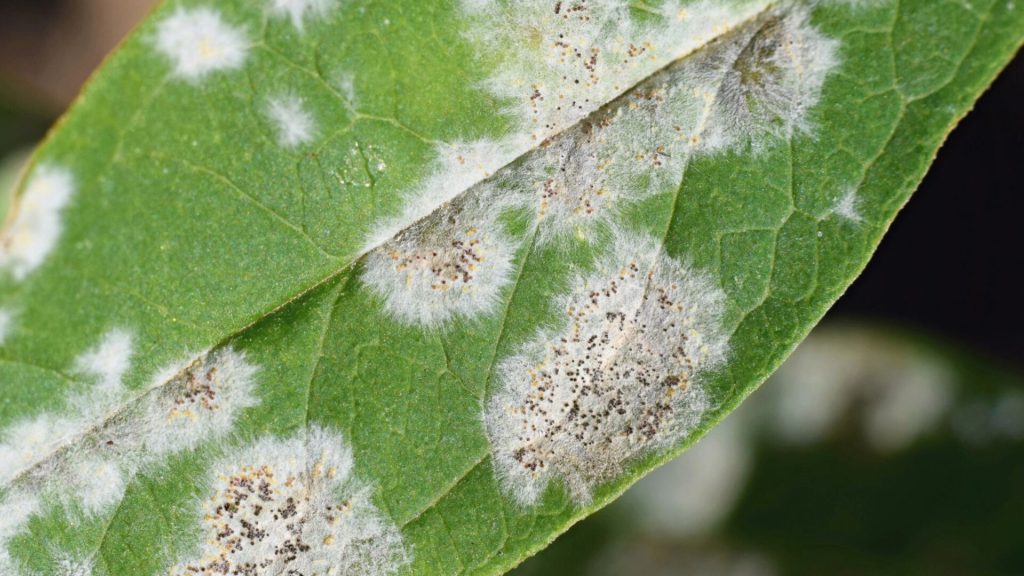
Source: Tunatura from Getty Images via Canva
However, despite their differences, there are some similarities between them. They are both types of fungi that flourish in warm, moist, and humid conditions. They can develop on various surfaces both indoors and outdoors, and if not promptly removed, they can both cause illness.
How to differentiate between mold and mildew
Mildew appears as a type of fungus, typically white, gray, or light brown, sometimes with a powdery texture. It tends to spread flat across damp surfaces, beginning as a small spot before expanding outward. It’s generally considered the less severe of the two.
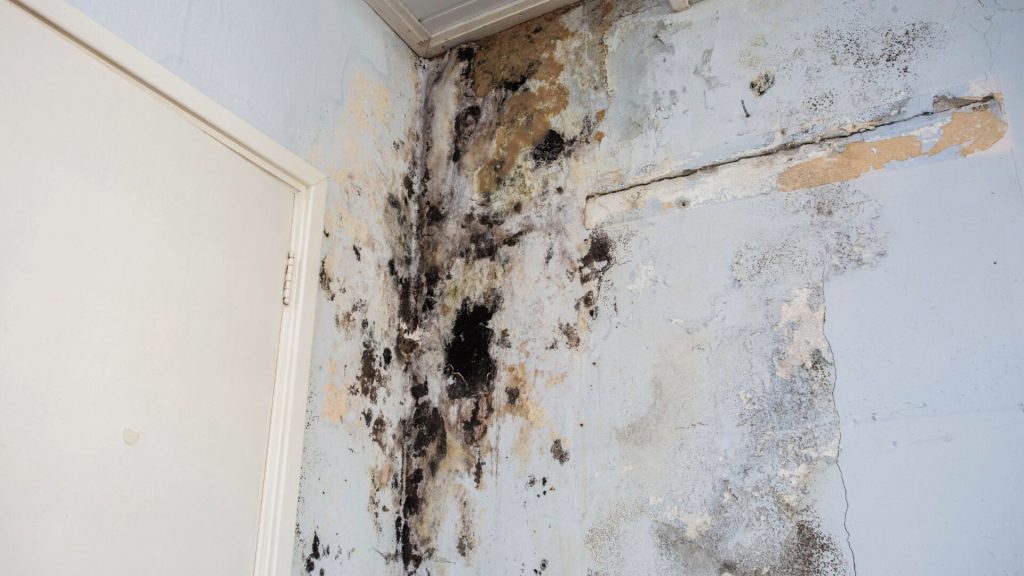
Source: A-photographyy from Getty Images via Canva
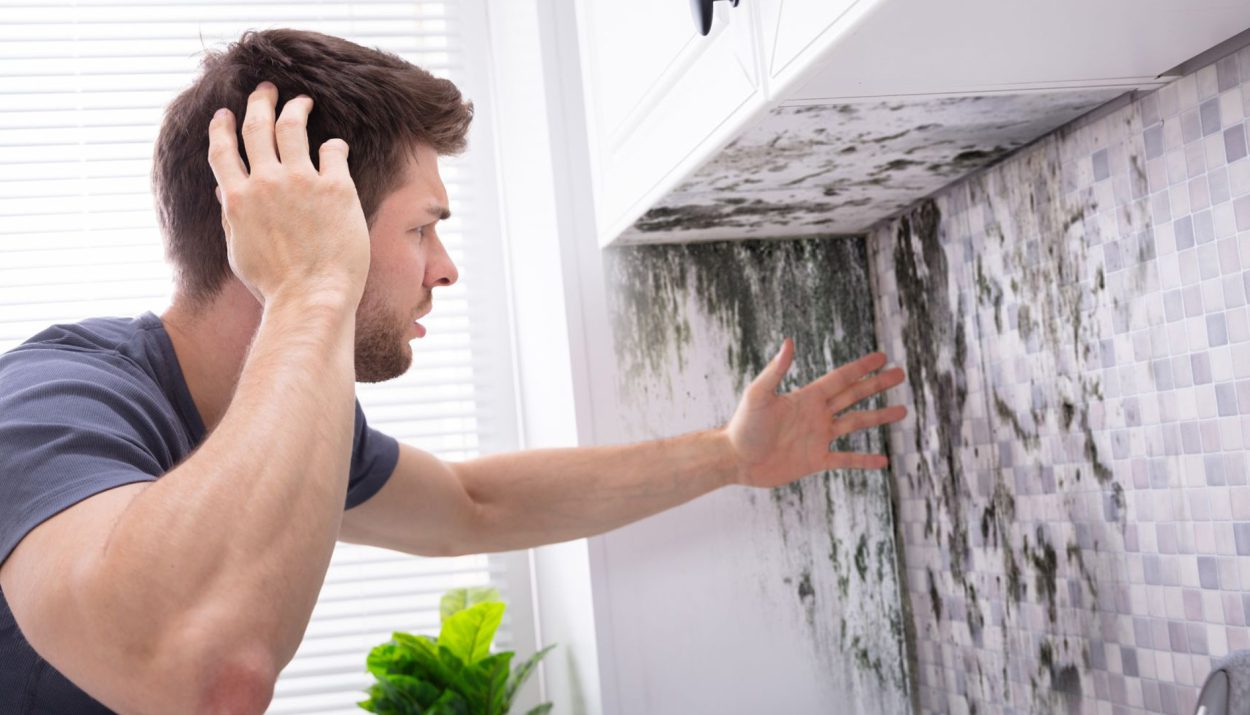
In contrast, mold presents as a black or green fungus, often with a raised, fuzzy texture. While some may mistake it for dirt or grime, it’s far more hazardous and typically indicates a more extensive infestation compared to mildew.
Items You’ll Need to Remove Mildew
If you’ve spotted mold or mildew inside or outside your home, removing it should be a priority task. Fortunately, the process is simpler than many assume, and it won’t break the bank – in fact, it only takes about 20 minutes!
Source: mstahlphoto from Getty Images Signature via Canva
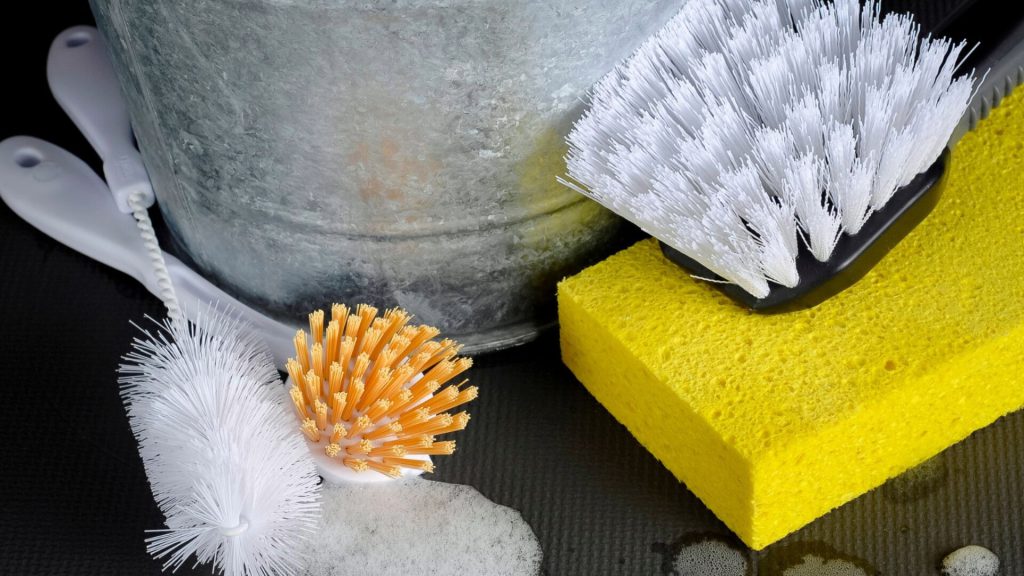
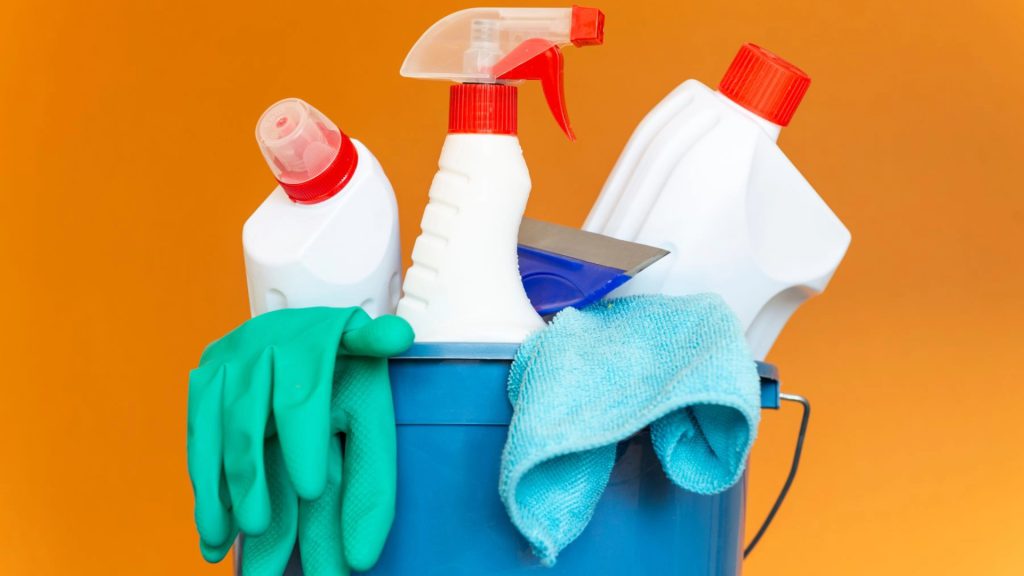
Here’s what you’ll need: a bucket, bleach, water, a long-handled scrub brush, gloves, and other protective gear, along with something to shield areas you don’t want to get wet. Once you have your supplies gathered, you can proceed to prepare your cleaning solution and tackle the affected area. Here’s a simple step-by-step guide for you:
Step 1: Prepare Your Mildew Cleaning Solution
Begin by concocting the potent mixture that will eradicate those pesky mold and mildew spores. The simplest DIY solution involves combining a gallon of warm water with one-third cup of bleach. Stir the solution thoroughly to ensure uniform mixing.
Source: solidcolours from Getty Images Signature via Canva
You can purchase a gallon of bleach at your nearby department or grocery store for less than $10. If you prefer not to venture out, you can also order it online from Amazon.
Step 2: Shield Nearby Plants or Valuables
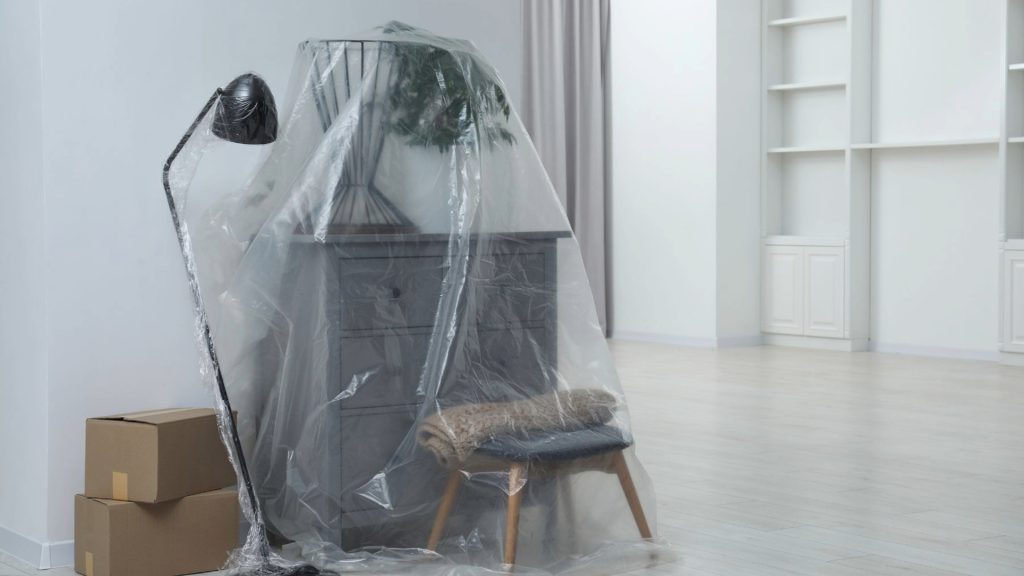
Before diving into the scrubbing process, it’s essential to ensure that the surrounding area is shielded and safeguarded. If you’re tackling mildew on the exterior of your home, cover any plants or shrubs that could be affected.
Source: New Africa images via Canva
If you’re dealing with mildew indoors, clear out any furniture or personal items and lay down a tarp or sheet on the floor. Bleach can cause harm if it comes into contact with the wrong surface, so exercise caution when applying it to the affected area.
Step 3: Scrub the Mildewed Surface with the Solution
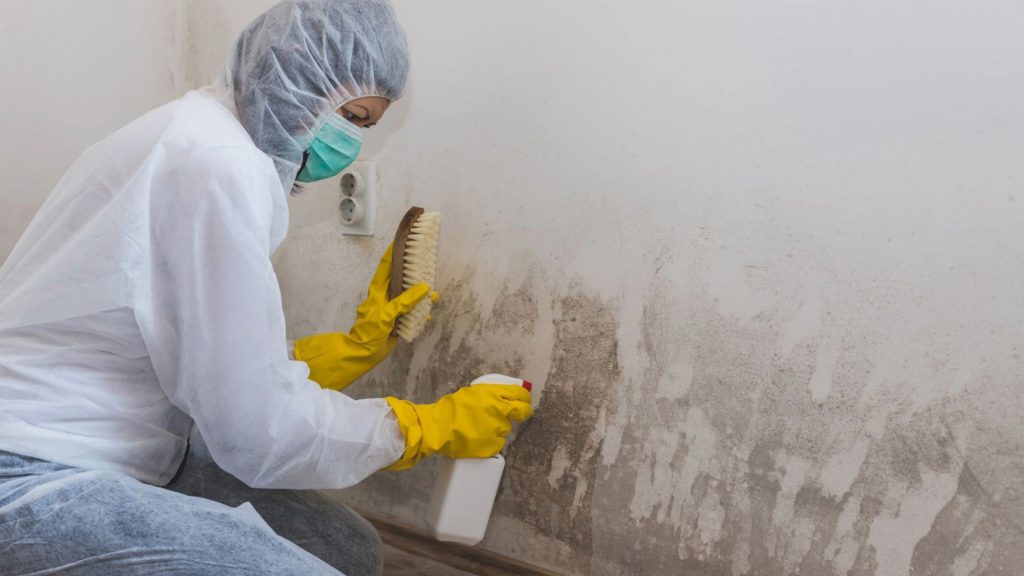
Before proceeding, it’s wise to perform a spot test to ensure that the bleach won’t cause any damage to the surface. Scrub a small area and wait for a minute or two. If everything appears fine, proceed to rinse the entire area and then begin scrubbing the mildew off the wall or surface using the solution.
Source: coja1108 from Getty Images via Canva
Be diligent with your scrubbing efforts, ensuring that you cover every area thoroughly to prevent the mildew from slowly regrowing. If the bleach solution proves damaging to the surface, you can try one of our alternative DIY solutions (after Step 5).
Step 4: Allow the Solution to Sit for at Least 10 Minutes
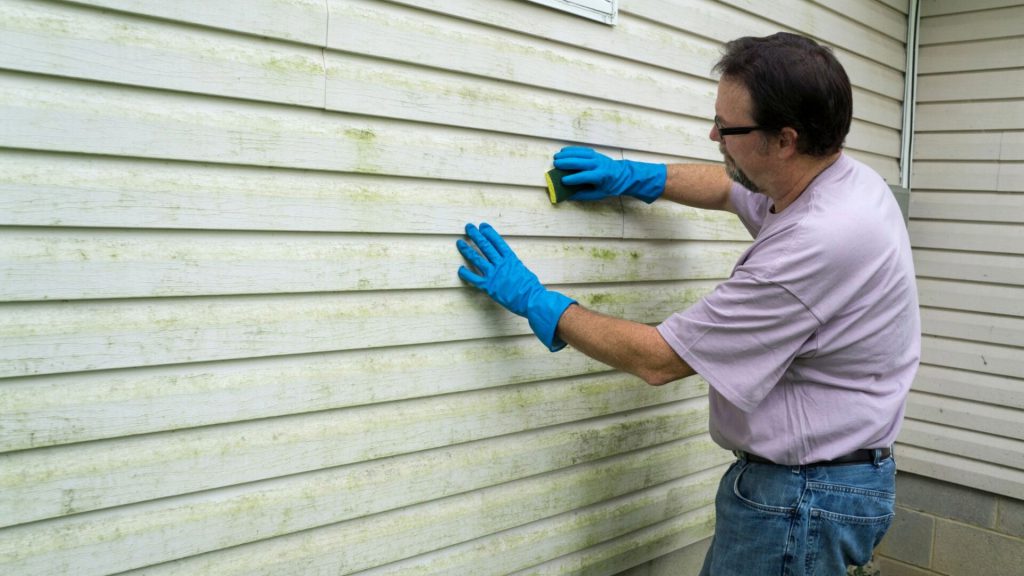
Once you’ve completed the scrubbing process, allow the affected area to sit undisturbed for at least 10 minutes. During this time, the sodium hypochlorite in the bleach reacts with the water, producing hypochlorous acid, which effectively kills bacteria, germs, mold, and mildew.
Source: IndyEdge from Getty Images via Canva
Now is a good opportunity to dispose of your bleach solution (it’s safe to pour it down the sink if it’s diluted with water) and clean your tools (brush and bucket). You won’t need these anymore, and you have some time to spare before completing the task.
Step 5: Rinse the Area and Allow It to Dry
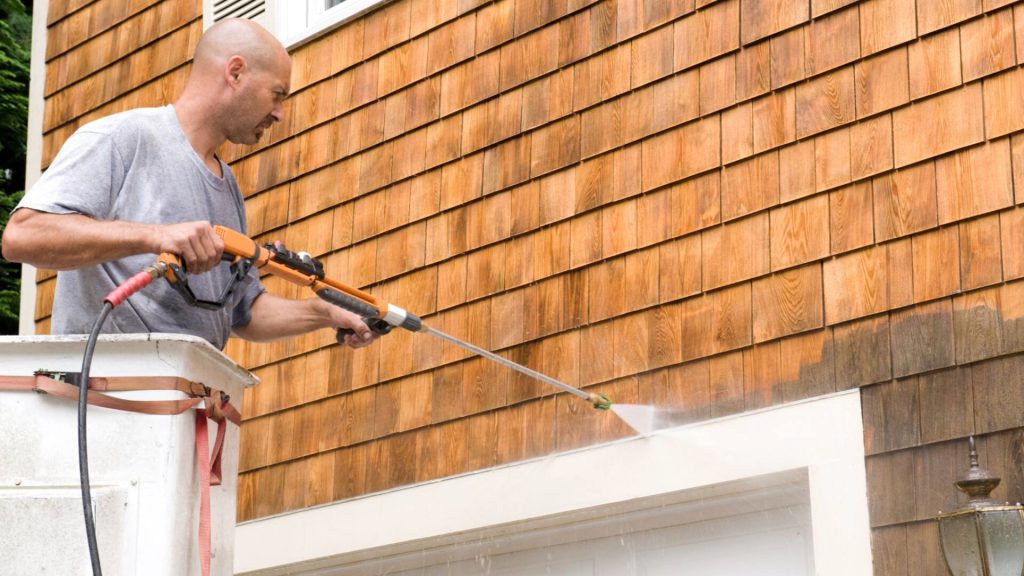
The final step of the process is straightforward – rinse the area and allow it to dry. If the affected area is outdoors, use a hose to rinse off the mildew. For interior walls or ceilings, use a damp, clean cloth to wipe the area clean.
Source: Rainbowphoto from Getty Images Signature via Canva
You can also discard any sheets or tarps that were used to cover the surrounding area. If you covered plants, we recommend giving them a quick rinse with the hose as a precaution—just in case any mold or mildew found its way onto them.
Top-Notch Solution: Detergent and Washing Soda
While the bleach-water solution is effective and straightforward, you can enhance the cleaning process by incorporating some laundry detergent and washing soda into the mix. It might sound like an unusual combination, but it will work wonders for both interior and exterior walls.

Source: thecorgi via Canva
Simply combine ⅓ cup of laundry detergent, 12 cups of warm water, four cups of bleach, and ½ to ⅔ cup of washing soda in a bucket. Use the brush to scrub the surface, following the same method we taught you earlier – the only distinction is that your solution is more potent.
Non-Toxic Alternative: Oxygen Bleach
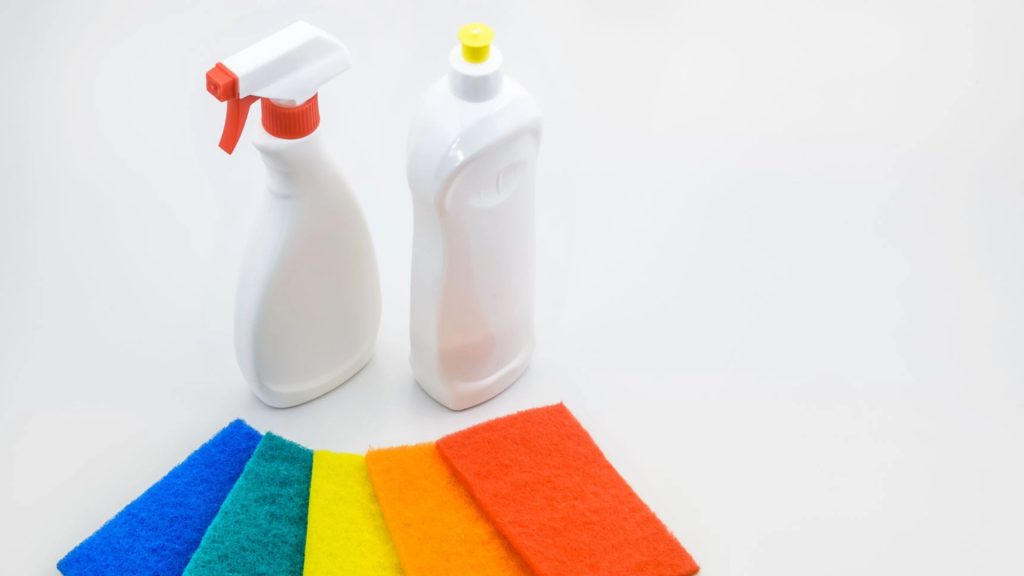
If you prefer not to use bleach or if the bleach solution causes damage to the surface, there’s no need to worry – you have several alternatives to explore. For this option, you’ll need to acquire oxygen bleach, which is akin to bleach but less harsh.
Source: JoRodrigues from Getty Images via Canva
It’s non-toxic, safe for plants, and poses no harm to animals upon exposure. While it may come with a slightly higher price tag than regular bleach, investing in it is worthwhile for a healthier and safer solution when eliminating mold and mildew from your home.
Can Exterior Mildew Enter the Home?
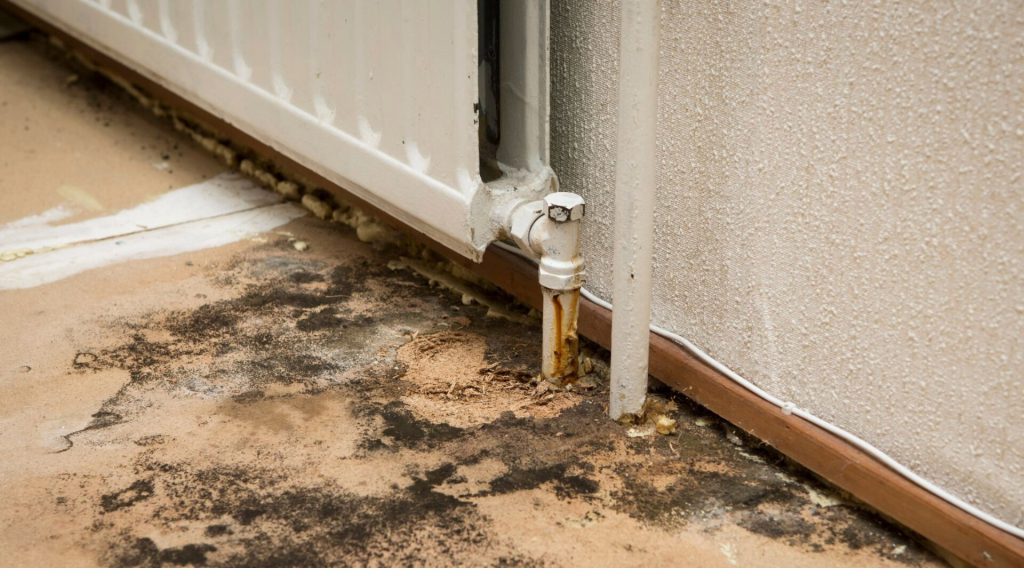
Discovering mold outside your home doesn’t guarantee it will remain there. Without prompt removal, mold and mildew can proliferate and eventually spread to other areas indoors.
Source: rkankaro from Getty Images Signature via Canva
Once it infiltrates indoor spaces, exposure to mold and mildew becomes hazardous – and in severe cases, potentially fatal. Compounding the issue, the symptoms are often mistaken for other ailments, leading to them being overlooked or misdiagnosed.
Symptoms of Excessive Mold or Mildew Exposure
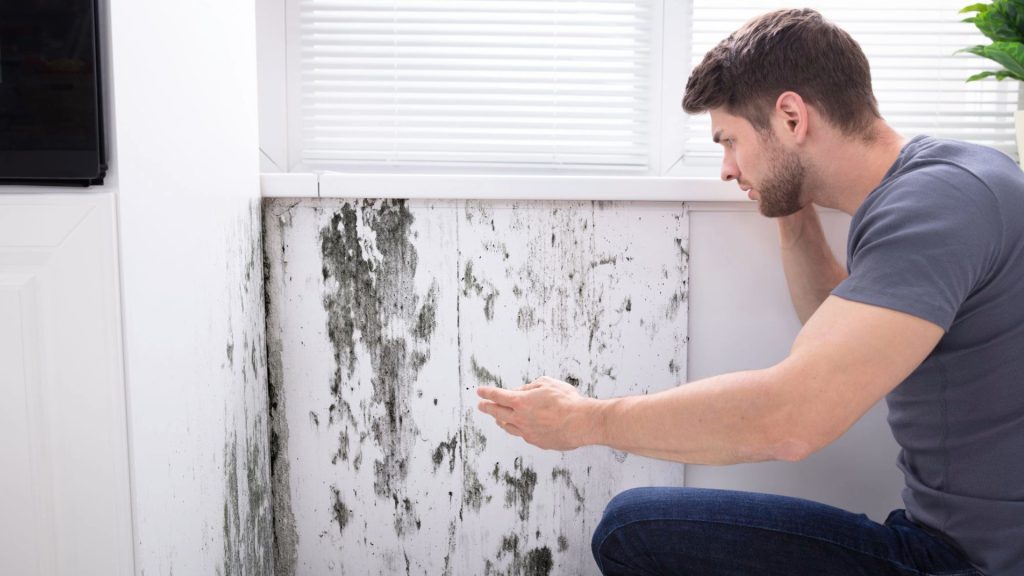
Prolonged exposure to mold or mildew can manifest in various symptoms, such as sneezing, coughing, red eyes, nasal congestion, postnasal drip, wheezing, shortness of breath, and chesttightness.
Source: AndreyPopov from Getty Images via Canva
Black mold poses the highest risk among molds, whereas mildew doesn’t inflict as much harm on the body. Nevertheless, eliminating these intrusive fungi from your home is crucial to ensuring a safe and healthy environment for you and your family.

